


Injection Molding 101: A Beginner’s Guide to Fundamental Plastic Processing
Injection Molding 101: A Beginner’s Guide to Fundamental Plastic Processing
Injection Molding 101: A Beginner’s Guide to Fundamental Plastic Processing
From pellets to finished parts • Tooling basics • Process steps explained
If you’re new to plastics manufacturing, injection molding 101: a beginner’s guide to fundamental plastic processing is the best place to start. This overview explains key terms, the major steps in the process, and what to prepare before you contact a supplier—so you can speak the same language as engineers and mold makers.
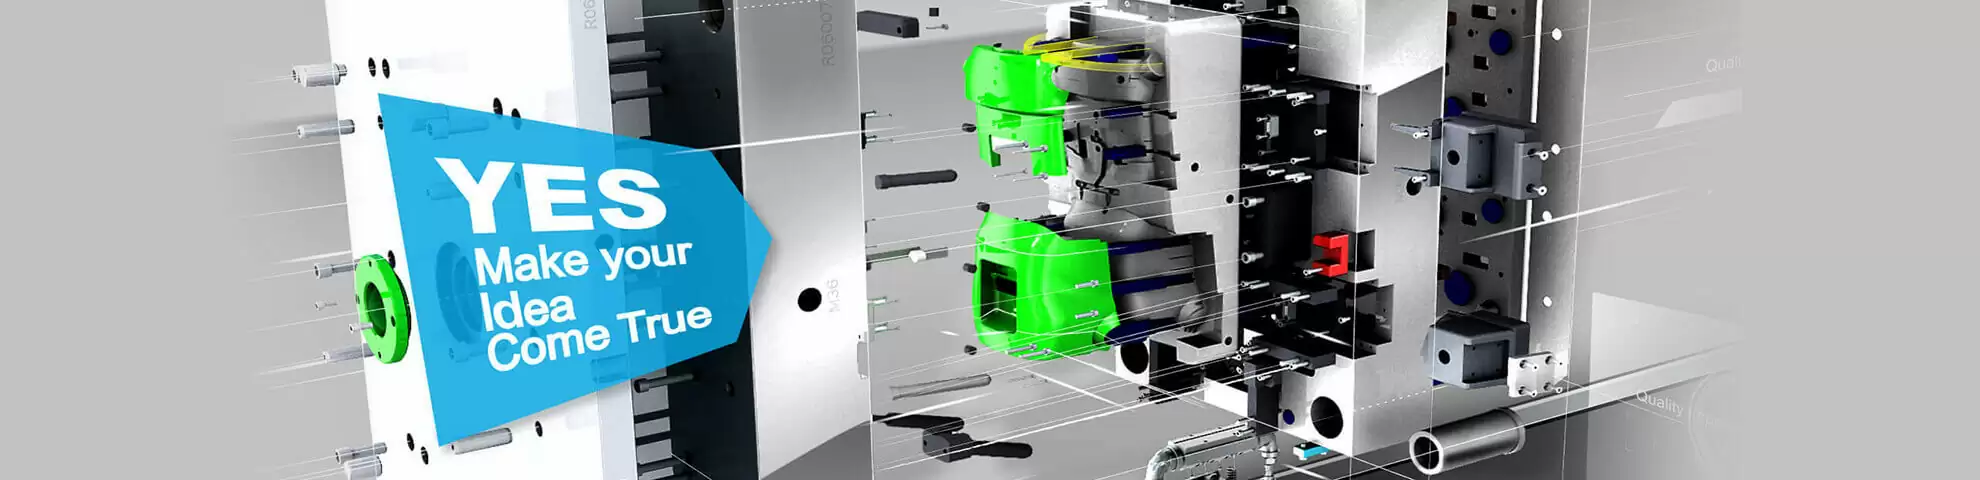
Use this guide—and the TaiwanMoldMaker.com network—to go from idea to production-ready plastic parts with fewer surprises.
Explore our end-to-end services:
Custom Mold & Design Maker → Mold Service → Injection Mold → Molding → Customer Examples → Contact
1. What is injection molding?
Injection molding is a high-volume manufacturing process that:
-
Heats plastic pellets until they melt,
-
Injects the molten plastic into a metal mold under high pressure,
-
Cools the plastic until it solidifies, and
-
Ejects a finished part that can be used immediately or with minimal finishing.
Because the mold can run thousands or millions of cycles, injection molding is ideal for:
-
Consumer products and housings
-
Automotive and industrial components
-
Medical and laboratory items
-
Electronic connectors and enclosures
2. The key ingredients: material, mold, and machine
Plastic material (resin)
You’ll hear terms like ABS, PP, PC, PA, POM, TPE—these are different plastics with different properties:
-
ABS / PC-ABS: Stiff and tough, good for housings.
-
PP / PE: Cost-effective, chemical-resistant, used for caps, closures, labware.
-
PC / PMMA: Clear plastics for windows and lenses.
-
PA (Nylon): Strong, good for mechanical parts.
-
TPE / TPU: Soft, rubber-like materials for gaskets and grips.
Choosing resin depends on strength, temperature, chemicals, appearance, and certifications (UL, food-contact, medical, etc.).
Mold (tool)
The mold is a precision steel or aluminum “negative” of your part:
-
Contains cavity and core (the shape of your part)
-
Has cooling channels to control cycle time
-
Uses ejector pins or plates to push parts out
-
May include slides, lifters, and inserts for undercuts and threads
Mold cost is a one-time investment (tooling), while part cost depends on quantity, material, and cycle time.
Injection molding machine
The machine has:
-
A barrel & screw to melt and inject plastic
-
A clamp unit to close and open the mold
-
A control system to set temperatures, pressures, times, and speeds
Modern machines are often robot-ready and connected to MES systems for data-driven production.
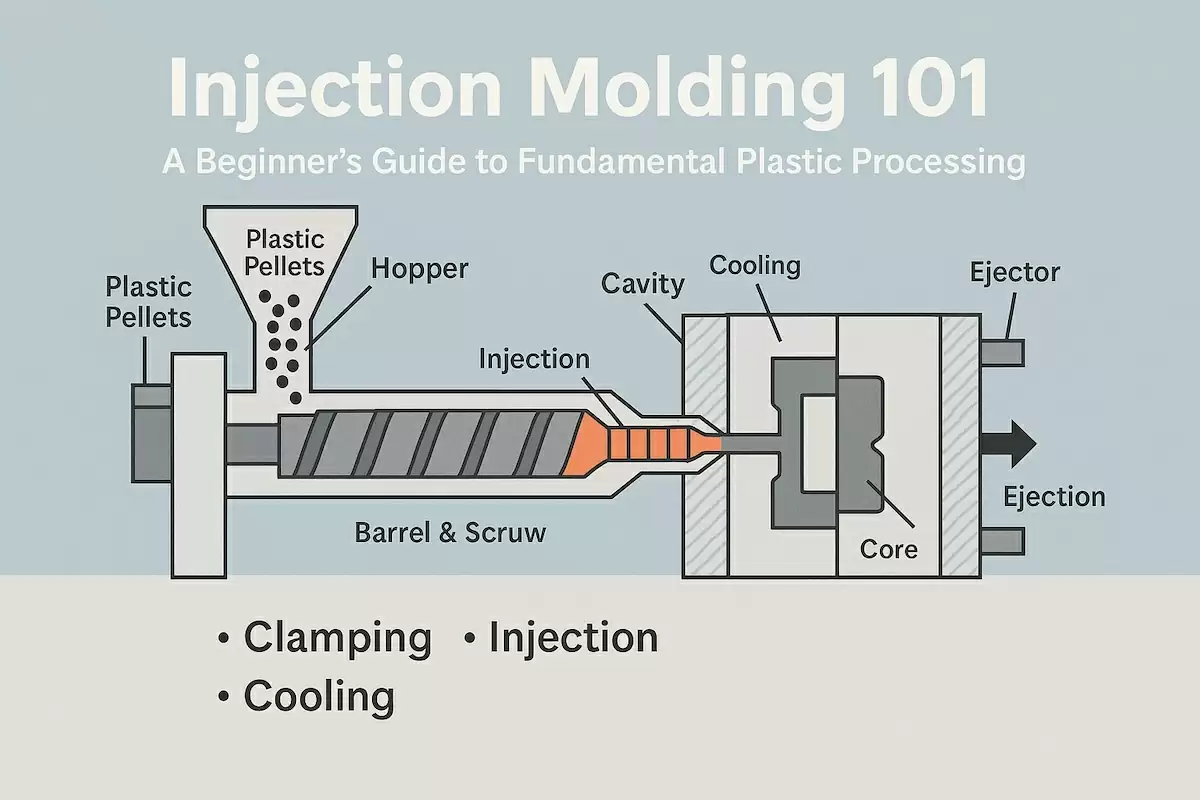
3. Basic injection molding process steps
-
Clamping
The mold closes, and the clamp applies force to keep it shut during injection. -
Injection (Filling)
The screw pushes molten plastic into the mold through a sprue, runner, and gate. The cavity fills under pressure. -
Packing & holding
Additional pressure is applied to pack more material into the cavity and compensate for shrinkage. -
Cooling
The part solidifies as heat is removed through cooling channels inside the mold. -
Ejection
The mold opens and ejector pins or plates push the finished part out. The cycle repeats.
A complete cycle can take seconds to tens of seconds, depending on part size and wall thickness.
4. Key design concepts for beginners
When you develop a part for injection molding, keep these fundamentals in mind:
-
Uniform wall thickness
Aim for consistent walls (often 1.5–3.0 mm). Thick areas lead to sink marks and long cycle times. -
Draft angles
Add 1–2° draft to walls so the part releases from the mold easily. -
Ribs instead of thick walls
Use ribs to add stiffness without creating heavy, sink-prone masses. -
Fillets and radii
Avoid sharp internal corners; use radii to reduce stress and improve flow. -
Gate and parting-line locations
Decide where material enters the part and where the mold splits—this affects cosmetics and function.
A good supplier will provide a DFM (Design for Manufacturability) report before cutting steel.
5. Fundamental quality terms you’ll hear
-
Flash: Thin extra plastic along parting lines; usually caused by insufficient clamp force or tooling wear.
-
Short shot: Part is not completely filled; often due to low temperature, pressure, or poor venting.
-
Warp: Part distorts after ejection; from uneven shrinkage, wall thickness, or cooling.
-
Sink mark: Small depressions, usually above thick sections or ribs.
-
Cycle time: The total time for one mold open/close and part ejection—drives cost.
Understanding these helps you discuss problems and solutions with your molding partner.
6. How to estimate whether injection molding makes sense
Ask yourself:
-
How many parts do I need?
-
Low volume (tens to hundreds): consider machining, 3D printing, or bridge tools in aluminum.
-
Medium to high volume (thousands+): injection molding usually wins on unit cost.
-
-
Will the design change often?
-
Early-stage products: start with prototype or low-cavitation tools.
-
After design freeze: invest in multi-cavity steel tools for long-term production.
-
-
What quality and certifications do I need?
-
Automotive, medical, or safety-critical parts may require PPAP, IQ/OQ/PQ, or specific documentation.
-
We help you balance tool cost, unit price, and timeline based on your roadmap.
7. What to prepare before you request a quote
To get accurate pricing and a realistic lead time, prepare:
-
3D CAD files (STEP/IGES)
-
2D drawings with dimensions, tolerances, and critical features (CTQs)
-
Material or property requirements (example: “PC-ABS, UL94 V-0, black”)
-
Estimated annual volume and launch date
-
Special requirements: colour matching, texture, transparency, clean room, packaging, or certifications
You can copy/paste this simple RFQ skeleton:
Project name & target launch date
CAD (3D + 2D)
Material and colour requirements
Estimated annual volume & expected order quantities
Cosmetic level & texture code (if any)
Special requirements (UL/medical/food, clean room, traceability, packaging)
Send it to us here → Contact
8. How TaiwanMoldMaker.com supports beginners
Even if you’re new to plastic processing, you don’t need to navigate it alone:
-
DFM feedback in ~48 hours to catch risks early
-
Tooling options (aluminium bridge tools, steel production tools, multi-cavity/family tools)
-
Material suggestions based on environment, regulations, and budget
-
Scientific molding practices for stable, data-driven production
-
Transparent communication with progress reports from design to T0/T1 and SOP
Start here:
Injection Mold → Molding → Mold Service → Customer Examples → Contact
Whether you’re launching your first product or moving from prototyping to full production, this injection molding 101 guide should give you the vocabulary and confidence to take the next step.
