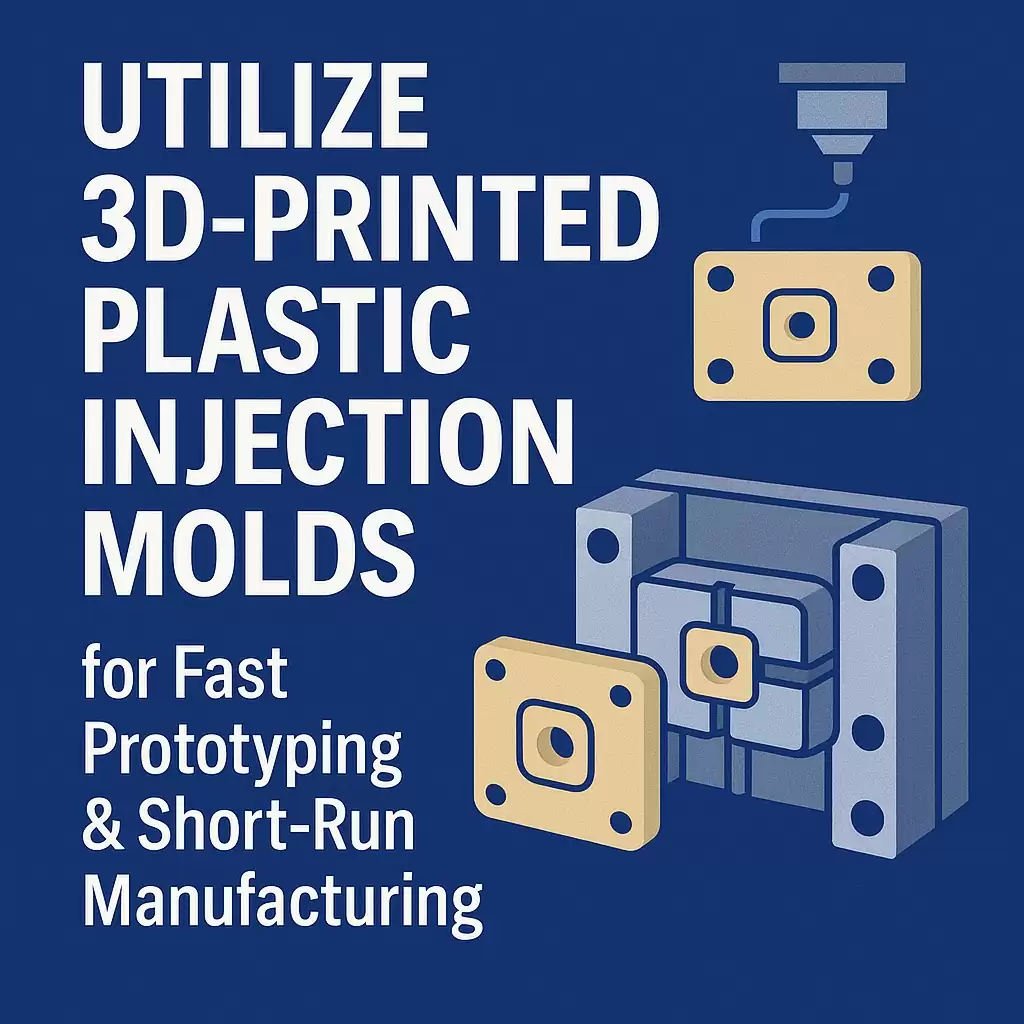
Utilize 3D-Printed Injection Molds for Fast Prototyping & Short-Run Manufacturing
Utilize 3D-Printed Injection Molds for Fast Prototyping & Short-Run Manufacturing
When speed matters more than tool life, 3D-printed injection molds let you shoot production-grade plastics in days—not weeks. By printing cavity inserts and dropping them into a standard mold base, you can validate DFM decisions with real resin, real gates, and real cycle times before committing to expensive steel. Here’s how TaiwanMoldMaker.com turns printed tooling into reliable parts for EVT/DVT builds and market pilots.
1) What Is a 3D-Printed Injection Mold?
A printed cavity/core insert—made from high-temperature polymer or composite—is mounted in a conventional aluminum/steel master frame with standard leader pins, sprue bushing, and ejectors. You run it on a normal press but within a tighter processing window (lower melt temps/pressures and measured shot counts).
Best use cases
-
EVT samples with final resin (not just 3D-printed part surrogates)
-
10–500 pieces for pilot runs, clinical builds, or limited editions
-
Design A/B comparisons (gate, ribs, fillets) without re-cutting metal
-
Early 2K / overmold feasibility with simplified geometry
2) Materials & Expected Shot Life
| Printed Insert Material | Process | Typical Heat Deflection | Shot Life (guide) | Good For |
|---|---|---|---|---|
| High-Temp SLA/DLP resin | SLA/DLP | 200–238 °C | 30–150 | PP, PE, HIPS, TPE, ABS (low melt) |
| PolyJet “Digital ABS” | PolyJet | ~ 210 °C | 30–100 | Thin-wall consumer parts, caps |
| Filled Nylon (MJF/SLS) | Powder bed | 180–190 °C | 50–250 | Functional housings, clips |
| PEEK/CF-PA (CNC-printed blocks) | FFF + post-machining | 240–260 °C | 100–500 | Tough inserts, moderate temps |
Reality check: Printed tools are consumables. We monitor wear, then swap inserts quickly to keep your press running.
3) Part Resin Compatibility
-
Ideal: PP, PE, LDPE/LLDPE, HIPS, TPE/TPU, EVA
-
Manage with care: ABS, PC/ABS (lower melt/shorter hold, extra cooling)
-
Not recommended: Neat PC ≥ 280 °C, POM (degas issues), high-temp semi-crystallines, glass-filled > 15 %
4) Design Rules for Success
-
Wall thickness: 0.8–2.5 mm; avoid > 3 mm masses.
-
Radii: ≥ 0.5× wall to reduce local stress in the insert.
-
Draft: 1–2° (soft resins) and 2–3° for stiffer resins.
-
Gates: Edge/tab/fan gates preferred; keep away from thin features.
-
Venting: 0.02–0.04 mm deep—printed tools need generous vents to prevent burn.
-
Cooling: Conformal air channels or copper heat sinks in the master frame; cycle time is managed, not minimized.
-
Ejection: Large, polished ejectors; add lifters/strippers to spread load on the insert.
5) Processing Window (typical starting points)
-
Melt temperature: use the lowest spec for your resin (e.g., ABS 220–230 °C, PP 200–210 °C).
-
Injection speed: medium-high to avoid premature freeze at the gate.
-
Pack/hold: 40–60 % of peak pressure, short hold (2–5 s).
-
Mold temperature: 25–45 °C (up to 60 °C for ABS/PC-ABS).
-
Clamp force: lower than steel tools; avoid flexing printed walls.
We run a mini-DOE on T-0 to lock a safe process window that protects the insert while meeting CTQs.
6) Where Printed Molds Outperform CNC-Only Prototypes
| Objective | Machined Prototype Part | 3D-Printed Mold + Injection |
|---|---|---|
| Resin realism | Often substitutes (PMMA/PU) | Final resin with true flow/pack/warp |
| Geometry | Limited for thin walls, living hinges | Full thin-wall, hinges, knit lines validated |
| Speed for multiple variants | Re-program & re-machine each | Print new insert and reuse base |
| Cost at 100–500 pcs | High | Lower per-unit after first 30–50 shots |
7) Hybrid Path: Print → Aluminum → Steel
-
Print inserts to prove DFM and cosmetics (days).
-
Aluminum bridge tool for 500–10,000 pcs while the market or validation ramps.
-
Copy-cavity H13/S136 steel for long-life mass production once demand is proven.
We provide tool credits so early spend rolls into the final steel.
8) Case Snapshot—Flip-Top Cap (LDPE)
| Metric | Before (3D print only) | Printed Mold + Injection |
|---|---|---|
| Time to functional samples | 8–10 days | 3–4 days |
| Living-hinge validation | Not realistic | Passed 1,000-fold test |
| Per-unit at 300 pcs | $3.10 | $1.45 |
| Decision to proceed to bridge tool | Uncertain | Go—window locked, hinge life proven |
9) How TaiwanMoldMaker.com De-Risks Printed Tooling
| Challenge | Our Built-In Solution |
|---|---|
| Insert cracking or heat wear | FEA-checked inserts, fillet reinforcement, staged cycle ramp-up |
| Unstable cycle time | Copper heat sinks & air channels in the base; controlled shot tempo |
| Cosmetic defects | 48-Hour DFM Pack with gate/vent plan; vision SPC at press |
| Limited shot life | Spare inserts pre-printed; quick-change nests minimize downtime |
| Duty exposure | Service-weighted billing—more value in engineering services, often duty-exempt |
Quick Links
-
✔️ Mold Service
-
✔️ Molding
10) Fast Engagement Roadmap
-
Upload CAD & resin choice (NDA-protected portal).
-
Receive a 48-Hour Printed-Tool DFM & cost pack—insert design, shot-life estimate, and piece-price ladder.
-
Approve printing & master frame → T-0 parts in 3–5 days.
-
Roll validated geometry into aluminum bridge or steel multi-cavity with tool credit applied.
Get real data, faster. With 3D-printed injection molds, you can test true manufacturability, compress the calendar, and make confident go/no-go decisions—then scale seamlessly with TaiwanMoldMaker.com.


